Getting started
Enrollment is the only step you have to complete before you can make use of the password self-service features available in ADSelfService Plus.
For detailed steps on the enrollment process, click here.
Note:
- If your administrator has enabled force enrollment of ADSelfService Plus, you would get a pop-up that asks you to complete the enrollment process when you log in to your machine.
- Your administrator might also choose to complete the enrollment process on your behalf. In such a case, you don't have to do it separately.
How do I access ADSelfService Plus?
Access ADSelfService Plus' portal from the access points listed below to perform password self-service activities anywhere, at any time.
- Web browser
- Logon screen of computers
- Mobile phone
- iOS app
- Android app
- Mobile web browser
Accessing ADSelfService Plus from a web browser
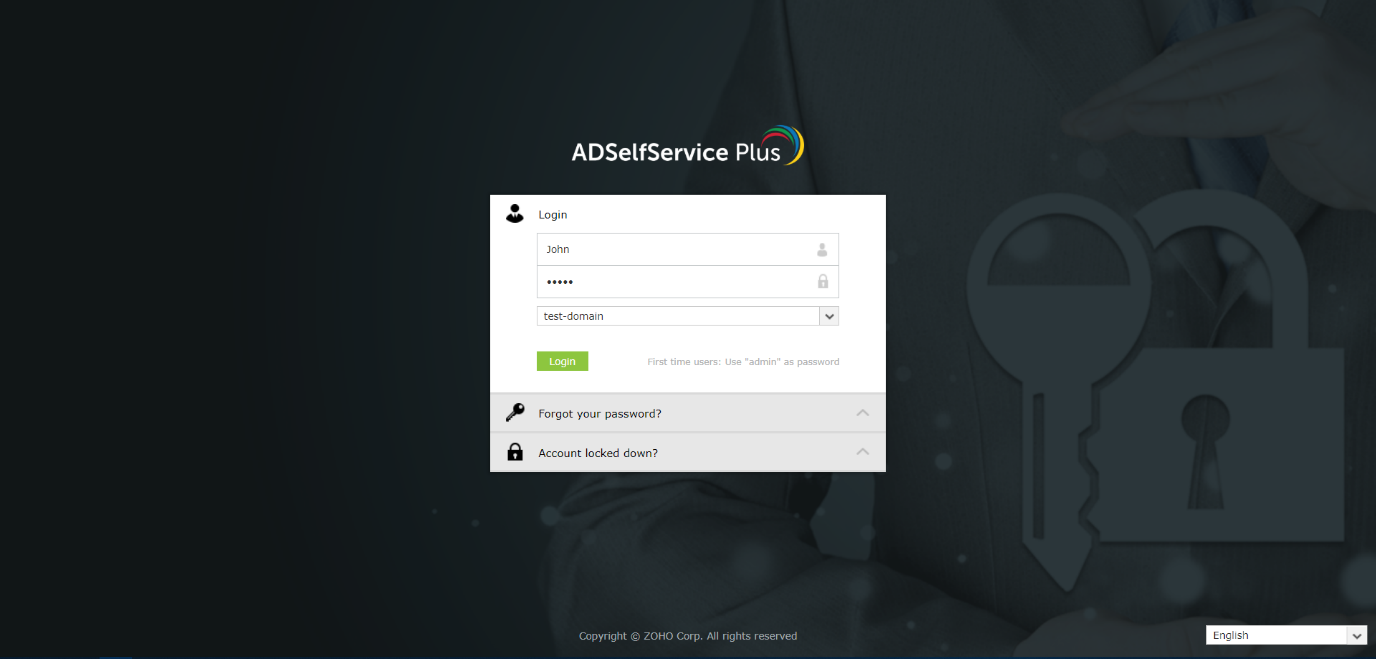
- Open a browser such as Google Chrome, Mozilla Firefox, IE or Safari.
- Paste the access URL you received in your email from your admin in the address field and press Enter.
Note: If you do not have the access URL of ADSelfService Plus, contact your admin.
- In the ADSelfService Plus page that opens, enter the username and password of your Windows domain account.
Note: If your admin has enabled SSO, you'll be automatically logged in to the user portal based on your Windows credentials. Or, you'll be redirected to an identity provider page where you'll be required to authenticate your identity.
- Select a domain from the drop-down menu, if provided.
- Click Login.
Note: If your administrator chose not to display the domain field, it will not be visible to you. You can simply continue to the next step.
Accessing ADSelfService Plus from logon screen of computers
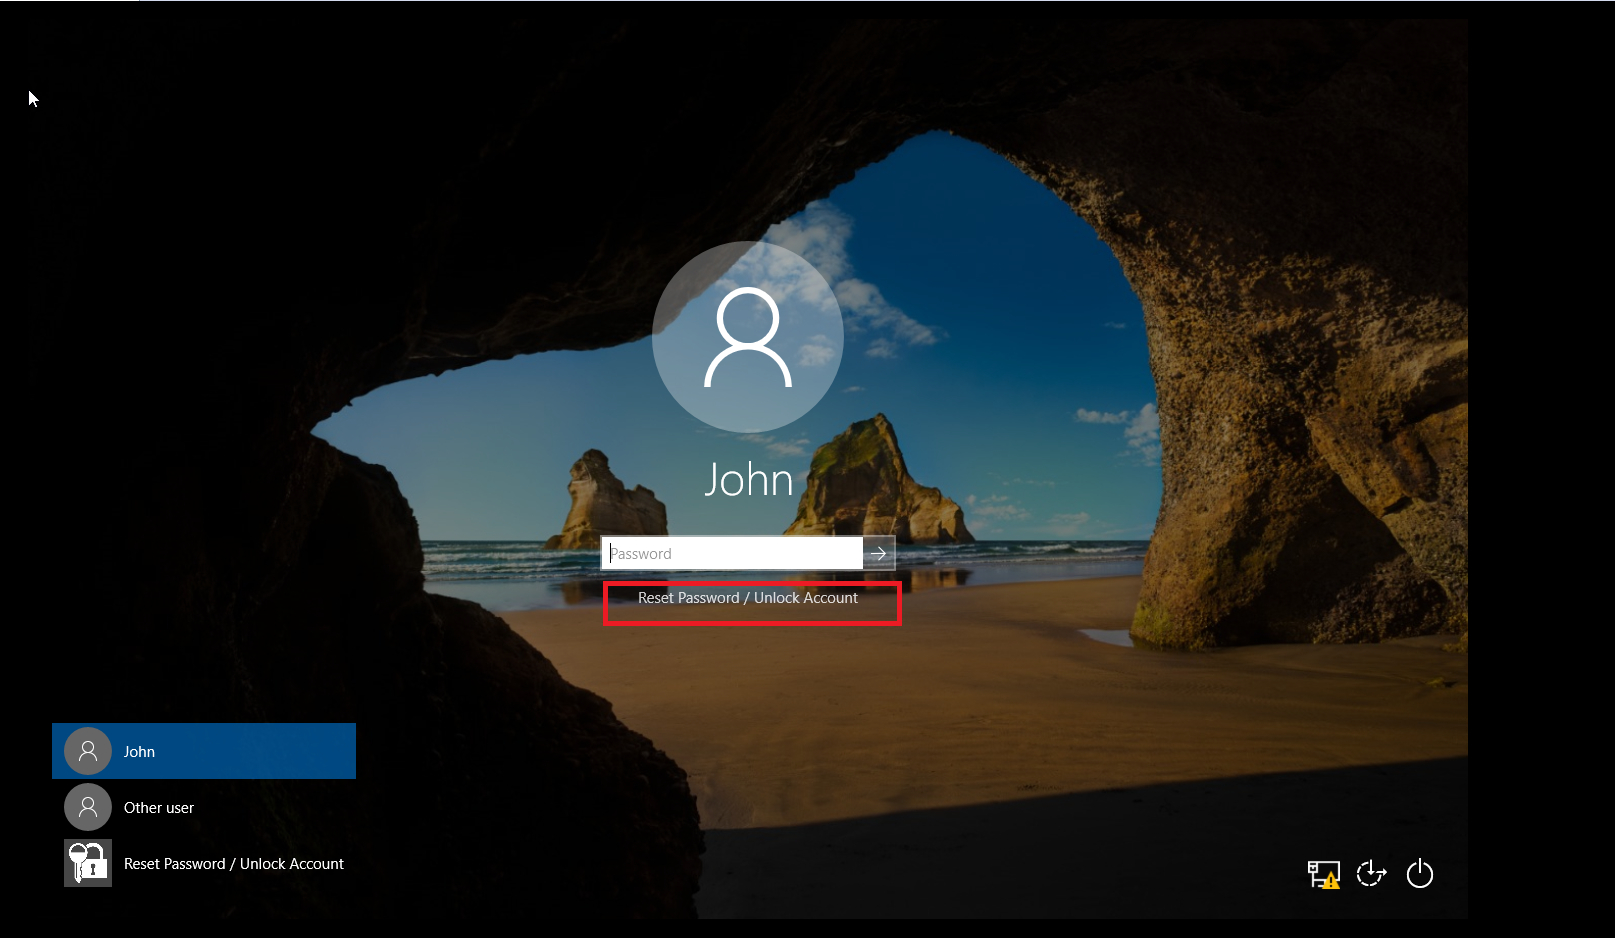
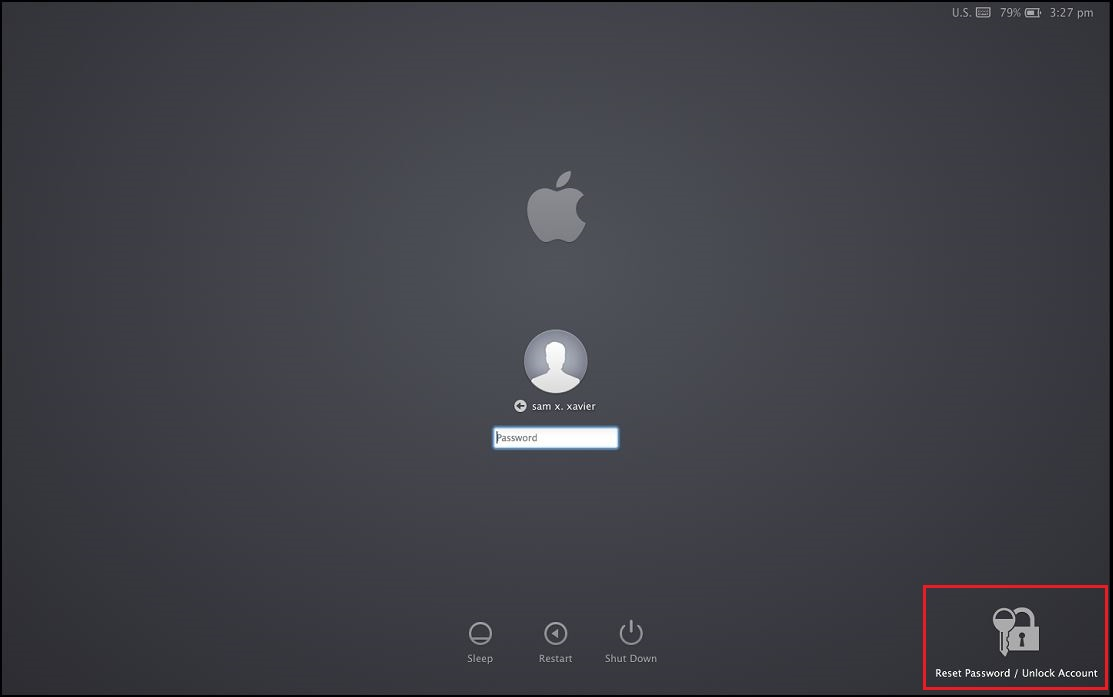
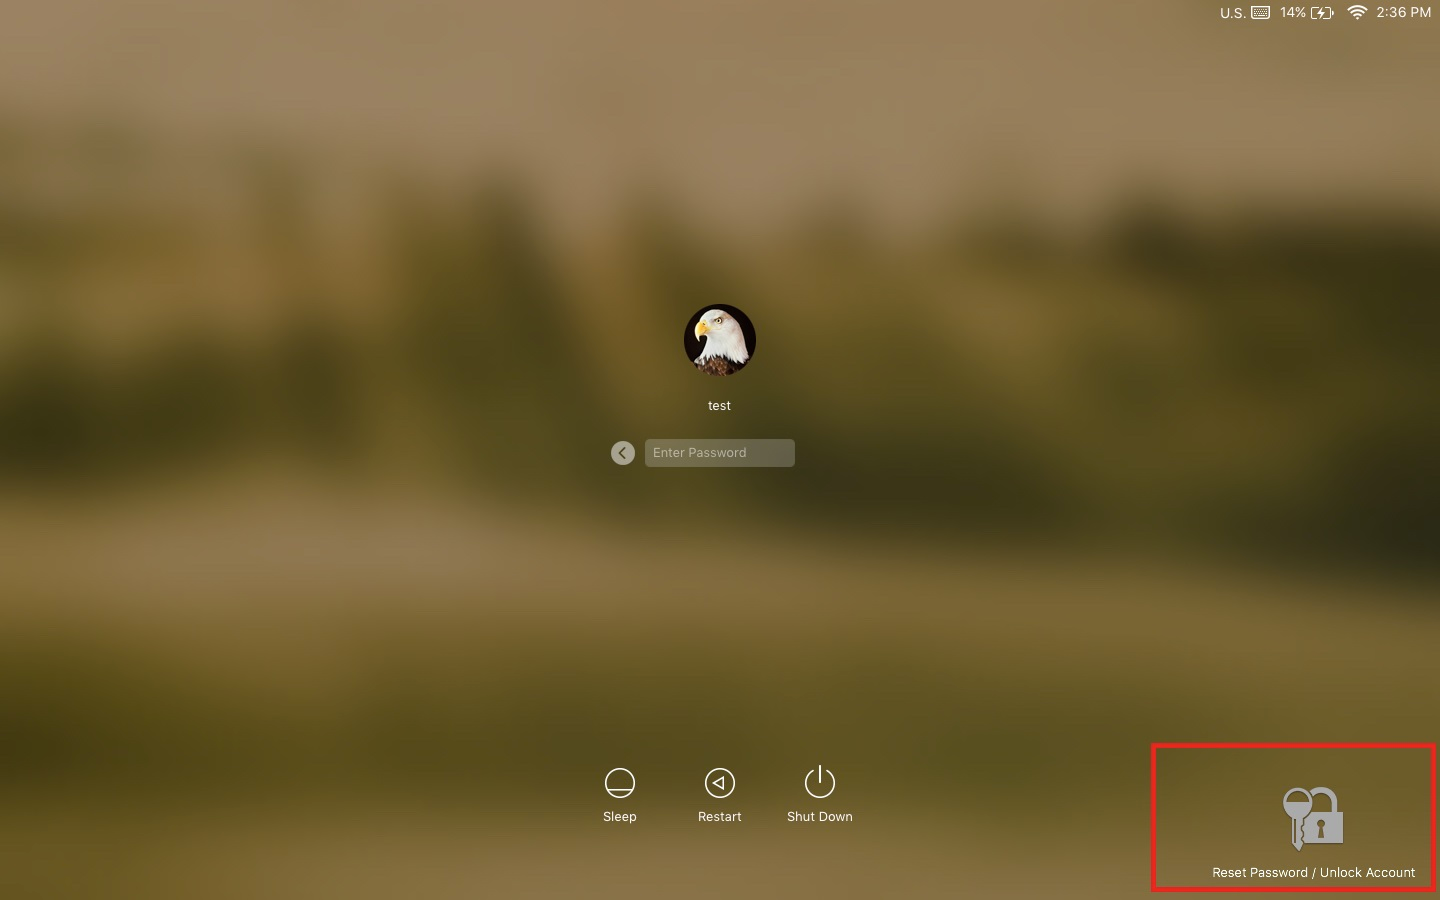
ADSelfService Plus allows you to reset passwords and unlock accounts from the logon screen of major OSs such as Windows, macOS, and Linux.
- Windows
- macOS
- Linux
Access ADSelfService Plus from a mobile
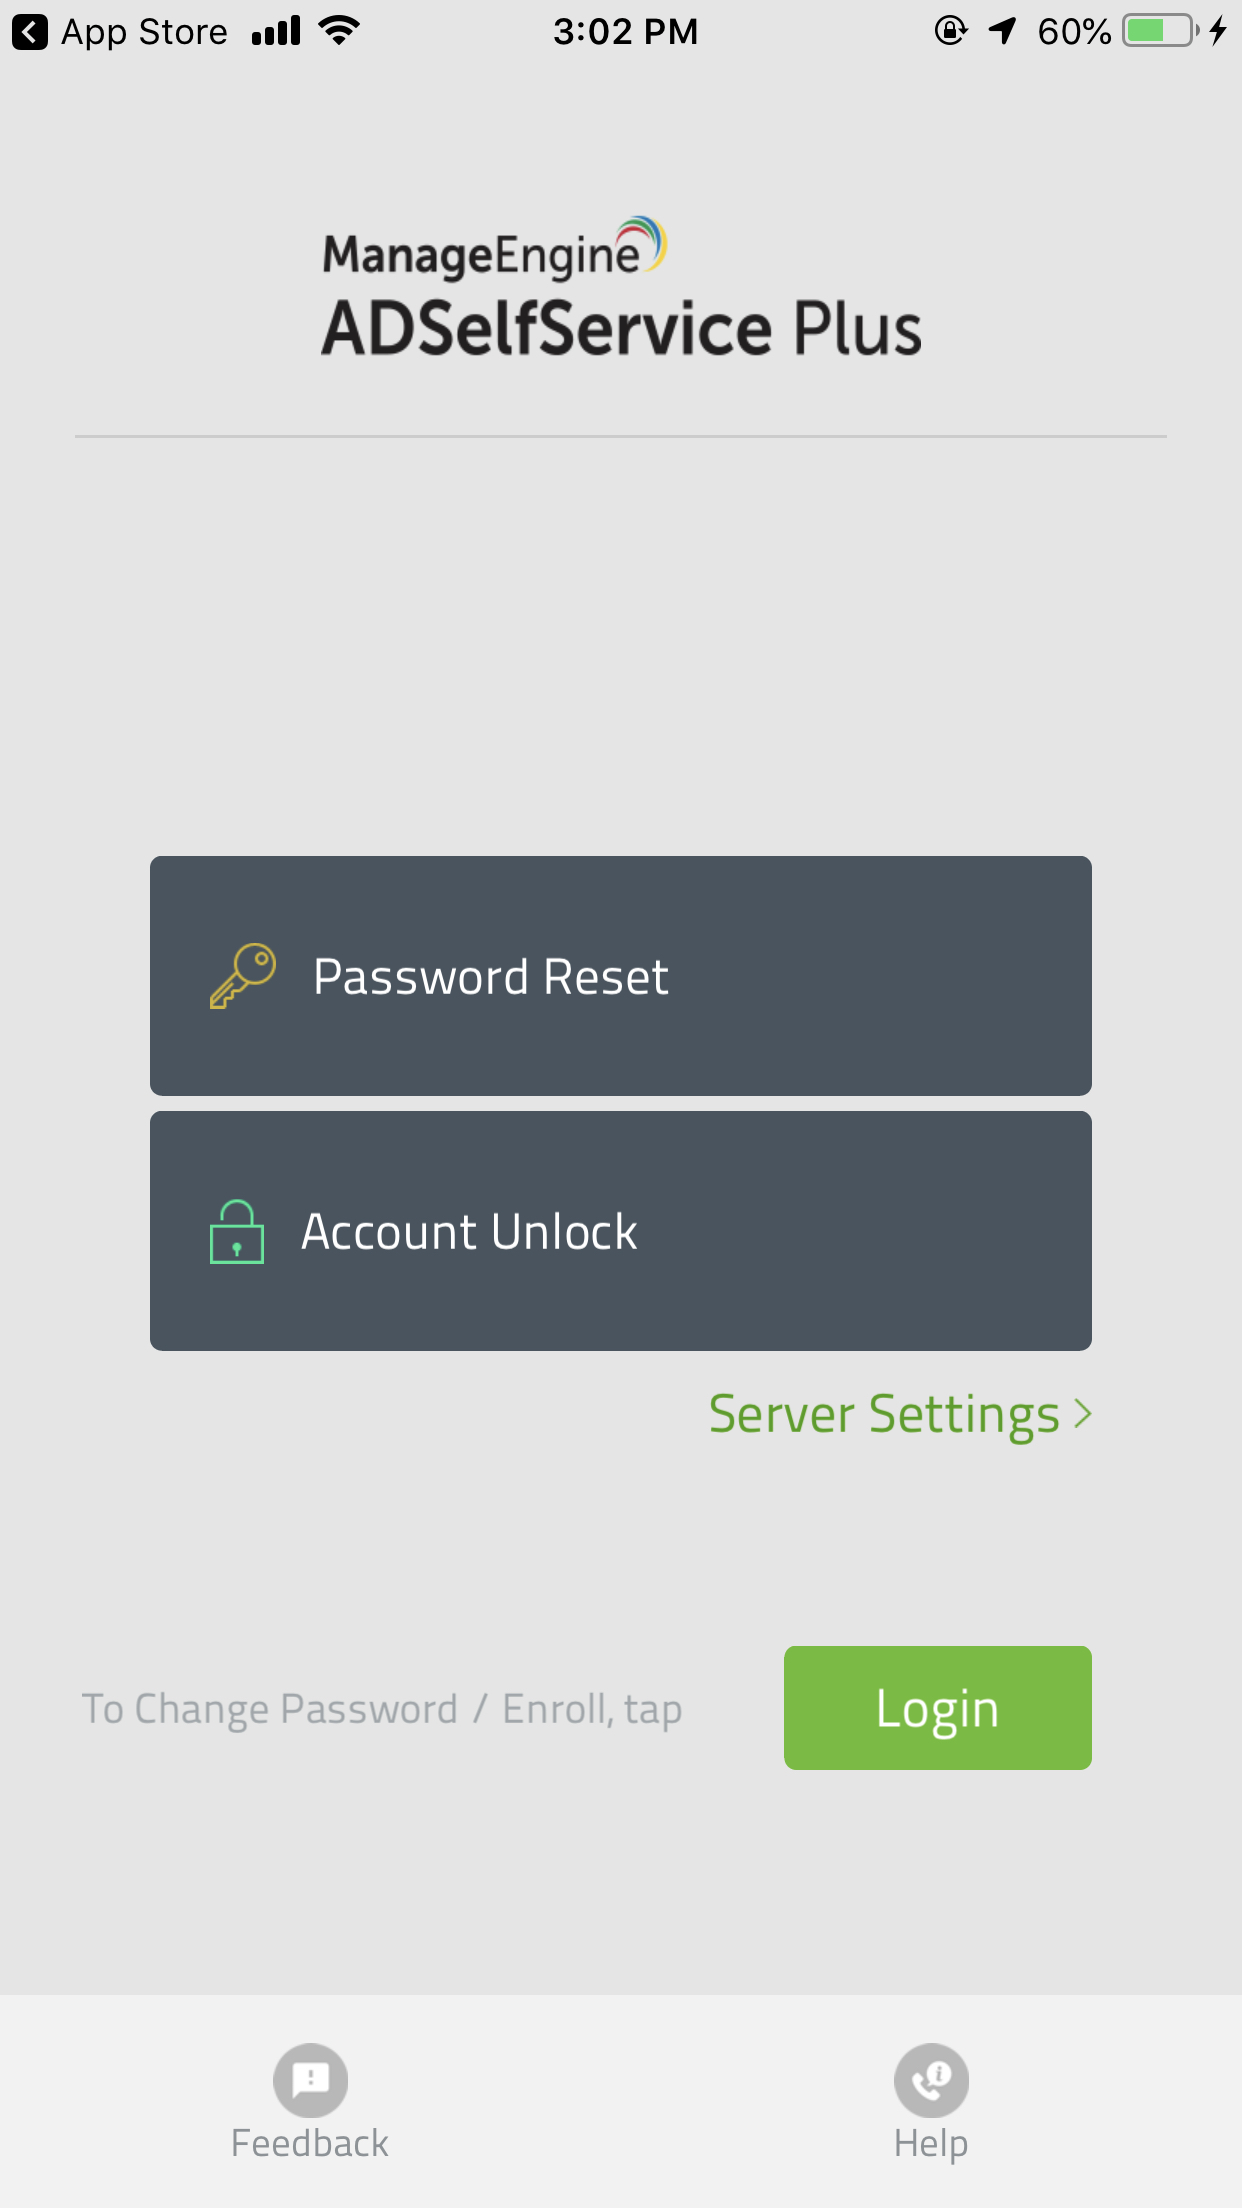
ADSelfService Plus' native iOS and Android apps help you reset passwords and unlock accounts, right from your mobile devices.
- iOS app
- Go to the App store search for ADSelfService Plus.
- Install the app in your iOS device.
- Click Login and enter your Windows domain credentials.
Note: You can also download the app by scanning the below QR code.
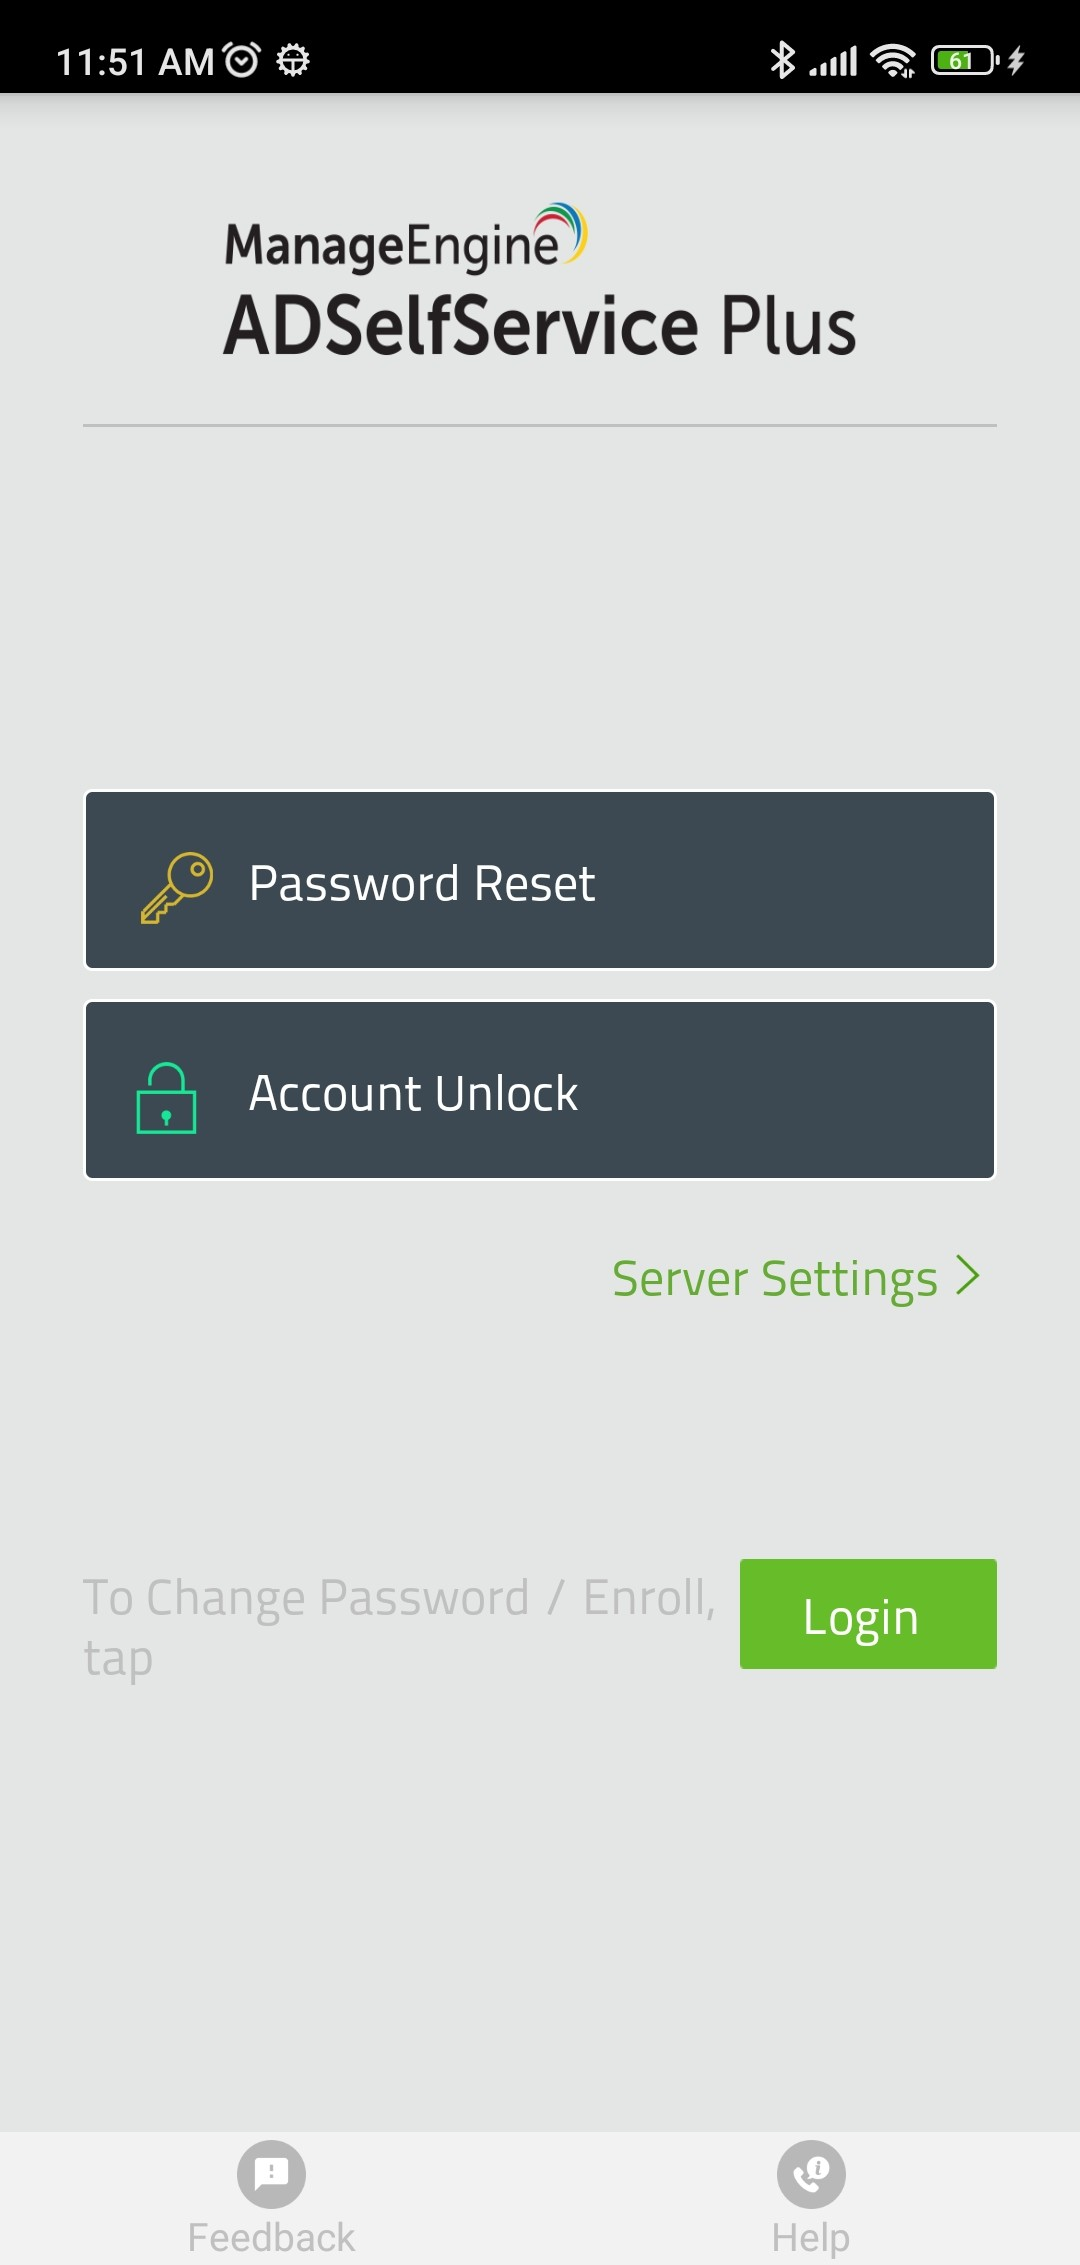
- Android phone
- Go to the Play Store and search for ADSelfService Plus.
- Install the app in your Android phone.
- Click Login and enter your Windows domain credentials.
- You can also download the app by scanning the QR code below.
Note: You need to connect the mobile app with the ADSelfService Plus server. For more details on how to set up the mobile apps,
click here
- Mobile web browser
You can also access the self-service portal directly from the browser of your mobile devices.
- Open a web browser from your mobile device.
- Type the access URL of the ADSelfService portal and enter your Windows domain credentials.
How do I connect the mobile app to ADSelfService Plus' server?
There are two methods for configuring your mobile app with the ADSelfService Plus' server:
- Manual Configuration
- Configuration via QR Code
Manual Configuration
Get the ADSelfService Plus server details from your administrator and follow these steps.
- In the ADSelfService Plus mobile app, tap Server Settings.
- Enter the Server Name or IP Address and port number you received in your email from your admin.
- In the Protocol field, select an appropriate protocol, and tap Save.
Configuration via QR code
Automate the configuration process by following the steps given below:
- In the ADSelfService Plus mobile app, tap Server Settings.
- Tap the Scan QR Code button located at the bottom-left corner.
- Select the Mobile Access button located in the ADSelfService Plus user portal webpage, or the reset password/account unlock page.
- Scan the QR code displayed.
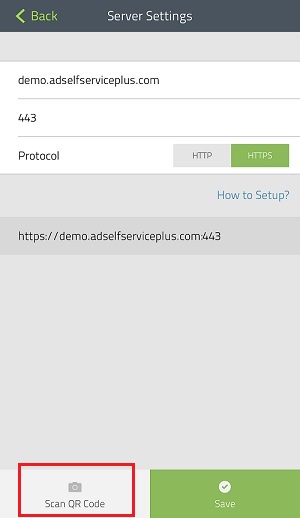
- All the server details are automatically updated in your ADSelfService Plus' mobile app.


